Only just got round to finishing what I started on the gearboxes, finishing up my first year of college and starting at a new job kinda sucked a lot of my free time up. Not complaining as those are both very good things. Next year at college I should be actually be allowed to make things (things other than a plumb bob) and hopefully spend some time designing and making robots.
I'm big into quite heavy scribe lines at the moment. Normally with my parts only one side needs to be pretty so I can go to town. I centre punched the holes...kinda.. okay not gonna lie I used a screw and hammer then just started the holes with a hand drill. If you wanted proper machining techniques you're in the wrong place.
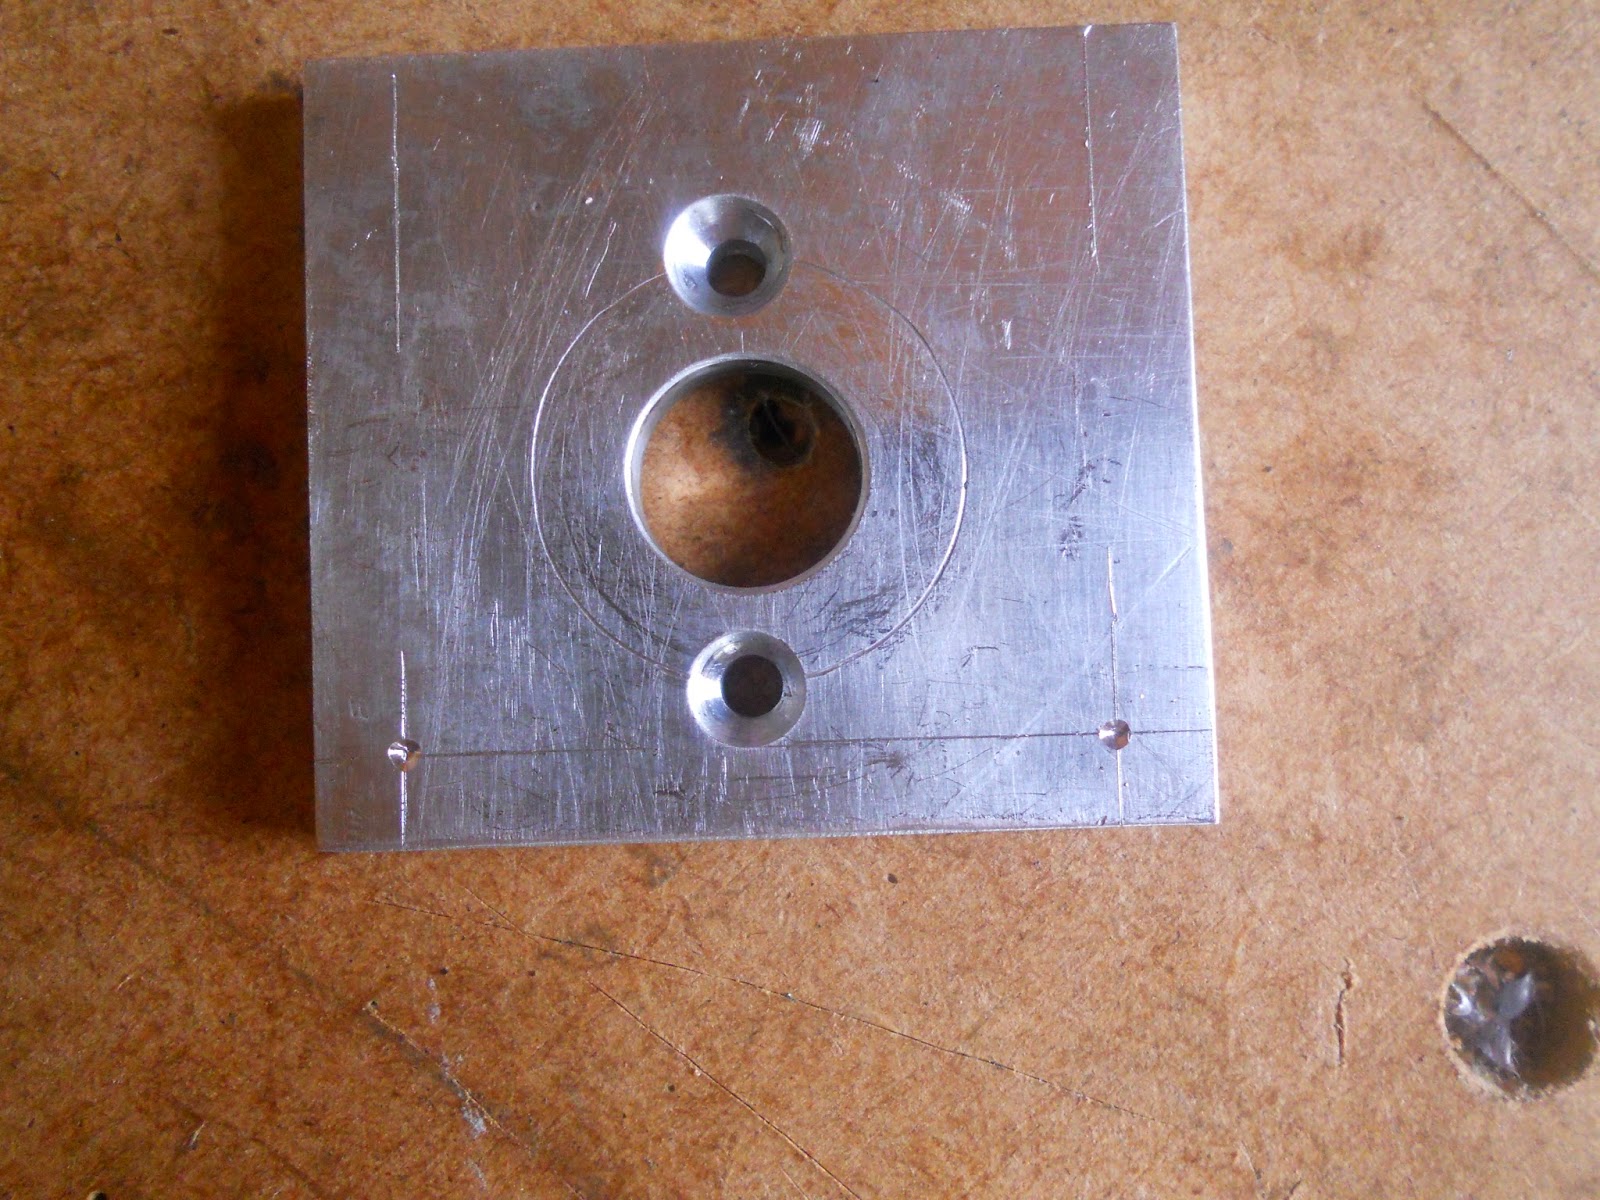
You can sort of see that one of the holes for the motor mounting is kind of a little wonky. Not to worry though it seems to work okay.
Did some scribing on the body of the gearbox too. "Centre punched" those too. I don't think you can see that in the photo or maybe I did it after taking this.
Drilled the holes on the motor plate. Used my neato little clamp my Dad bought for me to hold it down. I find its really useful when you have to do a few holes in the same thickness material. Managed to get the holes pretty much perfectly positioned. I don't know how I managed anything before drill press.
Drilled more holes into the main body of the gearbox and tapped those out to M5. Only did one side's worth of holes as I want to add a motor retaining plate but I'm not quite sure how I want to attach it to the rest. Also I had no idea if it was going to work and 2 wrong holes is better than 4.
It looks pretty good to me. Stuck it together with a couple of button head stainless M5 bolts.
3" banebots wheel on for the hell of it. It doesn't work like this as there is another stage of gearing still to be put on.
Ran it on one of my cheapy ESCs. It doesn't sound too pretty which is a bit of a bummer. However the motor doesn't get hot, nor does the controller. I think with a bit of tweaking it should run happy.
It seems a little "meh" but that is partially due to the unhappy gearbox and the fact it is an 18v motor run on 12v. For the first time in years I might actually have to buy a cordless drill or two to hack apart for components.
I've got a beetle or two in the works at the moment, but will save all their content up for a single post instead of stringing out dribs and drabs.
Going to give up with the standard "omg lel so much random topics" opening I tend to go for, just assume its going to be misc content unless its a hardcore build of one set thing, e.g. Massacre.
I was getting thoroughly bummed out by college and education in general not letting me learn or make anything. Luckily this conceded with me realising I had some money put by and therefore I could purchase shiny new toys!
First up was some cheapy chirpy Chinesey ESCs. I got these particular ones on recommendation from another roboteer who bought a few types of generic RC car "320a" (lolno) and tested them to destruction and found which was the best type, apparently it was this one. These should be fine running a 550 can motor on 3 cell in a 6kg robot. Normally the problem with these types of things, they don't have instant reverse. Quite understandably as they are for RC cars which don't really need to.
These do, hooray! That lipo in the video is munted, only about 8v or so hence why it's all a little lack lustre. I'll sort out some proper wires for the ESCs, get rid of the horrible Tamiya plugs beef up the heatsink and I should be laughing. The cost of these things? £10 each shipped. Luv u China.
Tooling tiem now. I love the mill to death but it is a little lacking in tooling. Facing 50 and 75mm stock with a 12mm endmill is not fun. It is time consuming, and with the generally hobby-ness of the machine it can be pretty damn inaccurate. I bit the bullet and got a face mill.
3" face mill with carbide inserts. Yay legit insert times. I can't stress how much I needed this and now much I adore having it. The quality of the tool is good considering the money, the thread for the drawbar was a little stiff but its loosened up nicely now. Other than that it is excellent. The maximum face mill size recommended was 2", but what's an inch between friends? (oo-er missus) I figured that it wouldn't immediately be a problem, and it was more the manufacturers covering their arses. Either way, it cuts fine and it hasn't killed me yet.
A wild boring head appears! Really nice little 50mm boring head. I got this so I could finally be free of bushings and start putting legit bearing pockets in things. 0.02 increments. Also got a set of brazed carbide boring bars ranging from diddy little to bastard big.
Its funny to think I can now justify £130 two tools, one to make things square and the other to make round things. What happened to hacksaws and 10 quid holesaws??
With my new nice tools I began to hack up an ESC box. This will be made up of several layers of chopping board stacked up to 40mm thick and carved out to house 2 escs. A 5mm aluminium lid will add some strength, protection and also act as a heatsink. This is totally unnecessary but it's fun, free and gives me something to do.
Rough cut the blocks by hand. Was able to stack them all together and get them square at the same time with the greater reach of the new face mill.
I then took some meat off of the face of the material to get a flat surface. The stock chopping boards have a bobbley finish and vary in height by about a millimetre or so. I then gave up. I'll get back to it later. Promise.
Now here is where we get a bit more hardcore. I won't harp on about Massacre's drive because frankly nobody cares (although that has never stopped me before) All I will quickly say is it's becoming more bitsy like its weird gimp of a cousin Rango, built by the equally weird, equally gimpy Elvis.
Its a thing.
In the age of people wanting to put 2kw brushless motors and 10s into their drive systems I go against this by not only sticking with my lovely 550 drill motors, but reducing their gearing. Punk rock engineering! Fuck your trends, robotics! 15:1 and made out of China gears and hope. The RangleBox Drive makes use of cheapness and my current tooling to hopefully produce, if nothing else a cool looking drive setup. It also reduces space taken up by things and gives me neat places to organise ESC and wiring. Ignore the bushings. I designed this before I got the boring head. My original plan was to get the aluminium part that held the first stage of gearing CNC milled. Realising I could get a boring head for about the same money, I elected to do it myself.
Rough cutting out the 5mm aluminium motor mounting plate. Don't worry the holes are supposed to be off centre. Alu is 6082 (whole gearbox is) for anyone who cares. I can't afford 7075 don't judge me.
Milled to size and beginning to be bored out to 13mm. Just as a test before I get all hardcore with the proper bearing fits.
Finished boring. I need telescoping gauges and a micrometer now I think.
Yay I made a thing. I then gave up for the day, ending on a high as I find it starts the next day better.
Cutting some square bar stock for the planetary stage. As a fat guy on a hot day, cutting 2" alu by hand is an unpleasant experience. Alas, I must suffer for my art.
Managed to slice it off pretty straight in the end so I didn't loose that much material. I then faced it to size. Nice thing about using 2" stock and designing to 50mm, you get to tickle like .3mm or so off each side to give a machined finish.
Got the stock near enough to size. Then marked it out for boring.
Please excuse the pigsty. I'm a teenager, its genetic.
Well, it looks like it should so that's something, right?
Having the bearing fit perfectly into the pocket was a really good feeling. A job done well is its own reward I suppose.
Ring gear pressed in. Made it a really tight fit, it was a few thousandths under. I can put a retainer on it to stop it slipping. But even with the hardcore power coming from a 550 motor it should be fine. Testing will show.
With carrier and planet gears. Looks too fancy to be a part made by me if I do say so myself.
Pushed the first stage of the gearbox up onto the motor mount. Really pleased with this so far.
Welp, next will probably more gearbox related stuff, or just more box stuff.